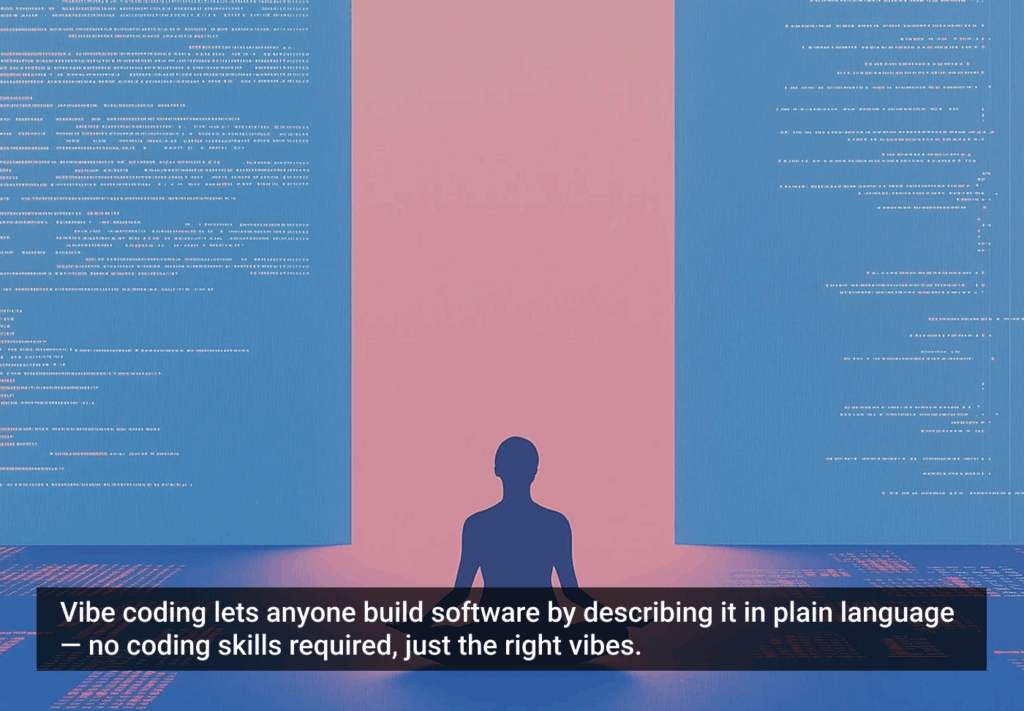
Introduction — Your new AI storyboarding muscle
Have you ever faced the dilemma of wanting to visually articulate your ideas using a storyboard but found yourself hindered by budget constraints or limited drawing skills?
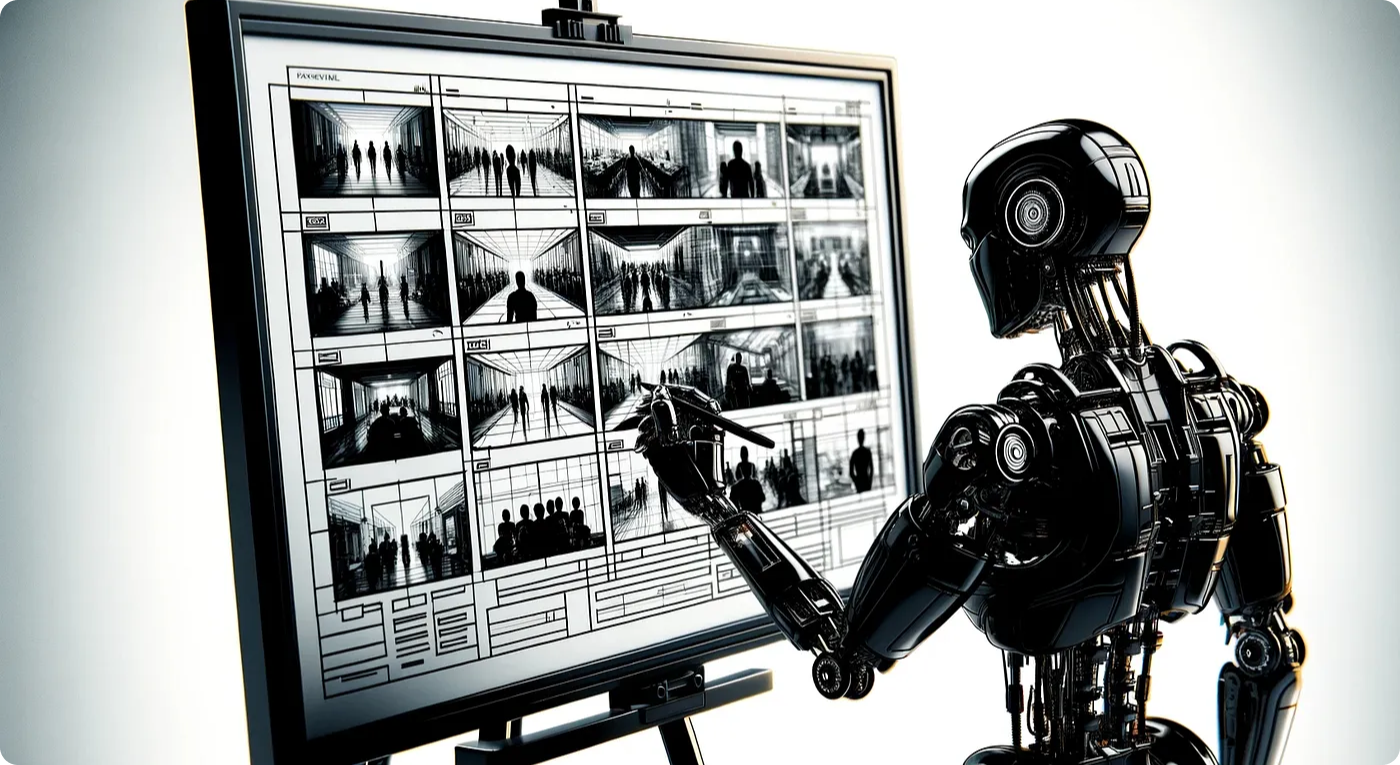
Storyboarding, a powerful tool originating from the 1930s film industry, is pivotal in bringing narratives to life, allowing us to almost ‘live’ through situations and ideate solutions to address what we see.
Yet, many of us design professionals, especially those without a visual design background like UX researchers and service designers, struggle to harness the power of this tool due to our limited sketching abilities. I can testify I fall exactly in this group, and I’ve been looking for a solution for some time.
2024 brings its complexity to the mix in the form of budget restrictions that limit organizations’ ability to hire dedicated sketching artists, even if it’s just temporarily.
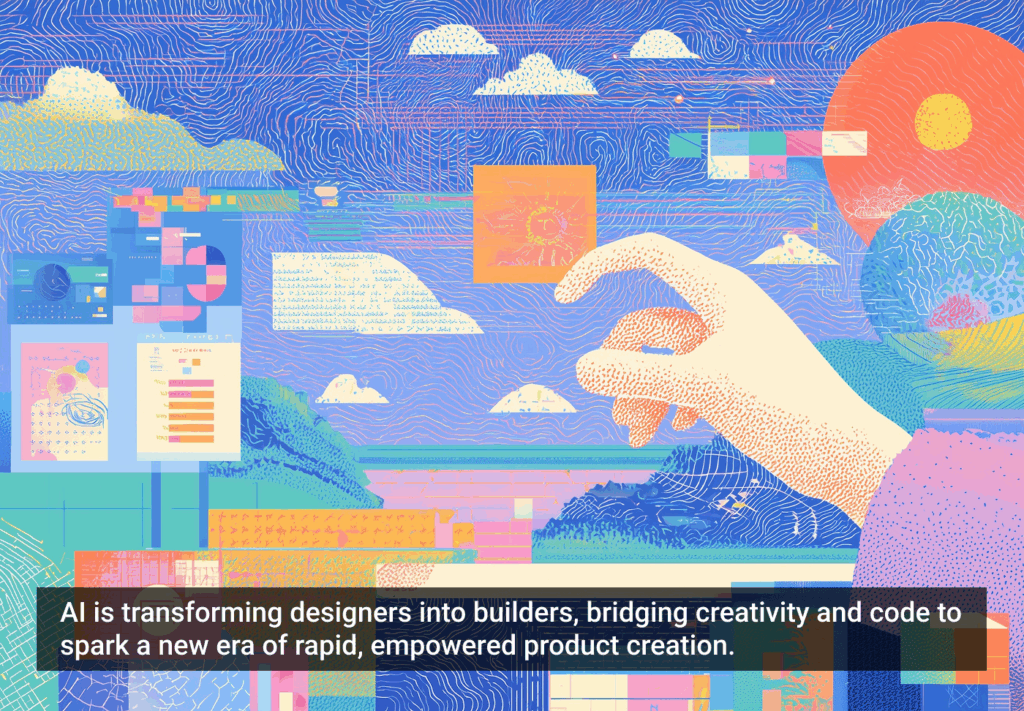
Luckily, these days the world of generative AI opens up new opportunities for designers. In my last article, I wrote about using generative AI for future-oriented projects and focused more on scenario planning and text.
This article will teach you how to generate storyboards relatively fast and start taking advantage of this powerful tool for group workshops without any knowledge of sketching. All you need is a good imagination and decent writing skills. ChatGPT and Dall-E will do the heavy lifting for you.
I got the inspiration to explore generative AI tools in the context of storyboarding due to an experience I had in an advanced service design course at the Service Design College where my teammates and I used ChatGPT and Dall-E to create a storyboard for our final project.
I know some of us have opinions about copyrights and generative AI. In this case, the idea is to leverage the power of these tools just for the sake of using the images in a storyboard workshop, not for the sake of stealing someone else’s work and profiting from it. Therefore, I see this use case to be a lot less problematic.
In this article, I’ll share my experience of developing a customized ChatGPT for storyboarding, and how I combine it with another generative AI tool for basic UI design so that you can use both as a holistic solution to bring storylines to life visually.
Let’s explore together how we can take advantage of this new AI storyboarding muscle.
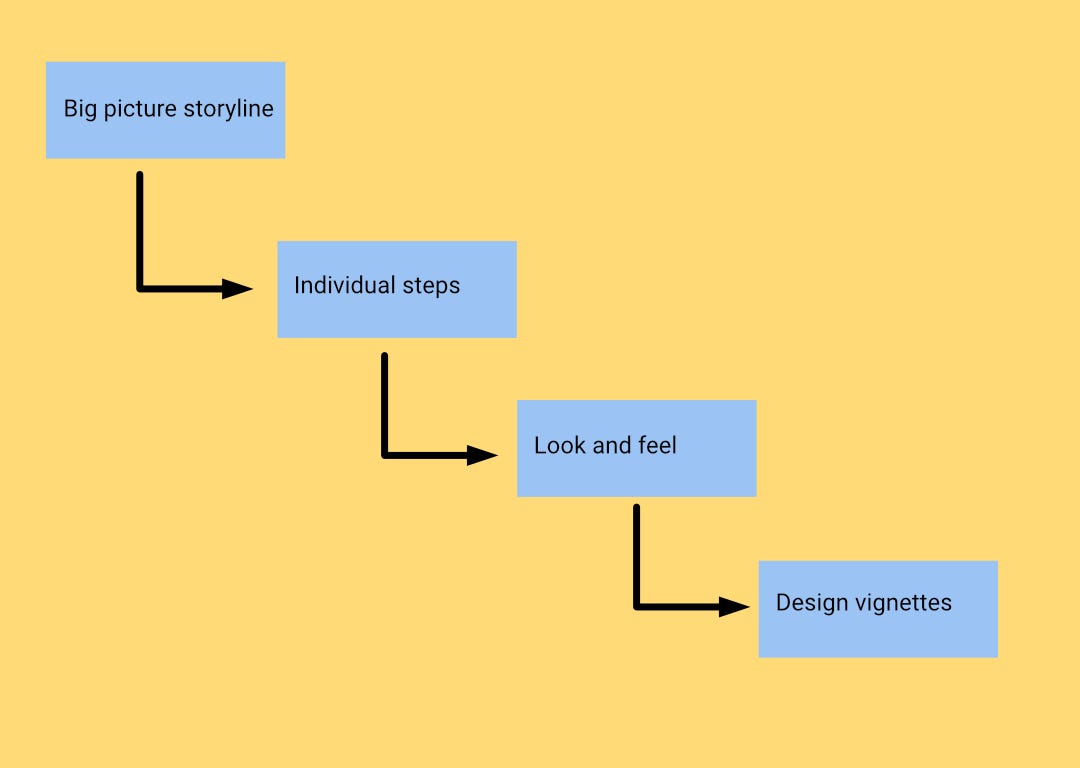
Understand the storyboard creation process
The process of creating a storyboard usually involves a few steps:
- Understand the big picture storyline — Every storyboard tells a story, so your mission is to think about which storyline you are going to develop using a storyboard. Is it navigating the complexities of an enrolment process at your local college? Opening a new bank account using a simplified process on a mobile app? Or booking an appointment at a dental clinic for a specific procedure that no one would rather go through?
- Break down the big storyline into steps — How many steps would you like to show in the storyboard? Every step becomes a vignette, an image that describes a step lived within the full storyline and captures a moment in the user’s narrative
- Decide on the look and feel — Select a visual style that resonates with the storyline’s tone and the user’s perspective. Is it a sketch-like style? More like animation? Photorealistic? Generative AI can help you design a storyboard using each of these styles so feel free to experiment with different styles. In this step, you generate a style for your baseline image that you can replicate throughout the process of creating the rest of the storyboard
- Articulate your vision — For each vignette, take some time to visualize in your head what you’d like to happen in it. Then, craft a vivid description that will guide the AI towards the visual creation of the scene.
As you can understand, the idea is to go from the big picture of the storyline into individual steps, and then into imagining what they would look like on the board. In the next part, we’ll dive into how the customized ChatGPT I developed could help you go through the process by guiding you through these steps.
Here’s a visual representation of the journey you’ll go through using the customized ChatGPT.
Building the Storyboard Wizard application
As I previously mentioned in my last article about creating customized ChatGPT solutions for scenario planning, you get the best results when you give your application a clear scope. For the sake of this article, I decided to limit the application’s scope to creating storyboards based on everyday scenarios.
The reason? I realized I get the best results when I don’t ask ChatGPT to create detailed UI designs or pieces of text, but just scenes of humans doing everyday things. Therefore, I decided to focus on this area.
Overall, a storyboard that consists of such images is supposed to be enough to describe an entire storyline and leave enough gaps so you and your team can ideate and come up with solutions.
I’ll discuss an additional tool for wireframing later in the article. Let’s go through how I guided the application to help you create your storyboard.
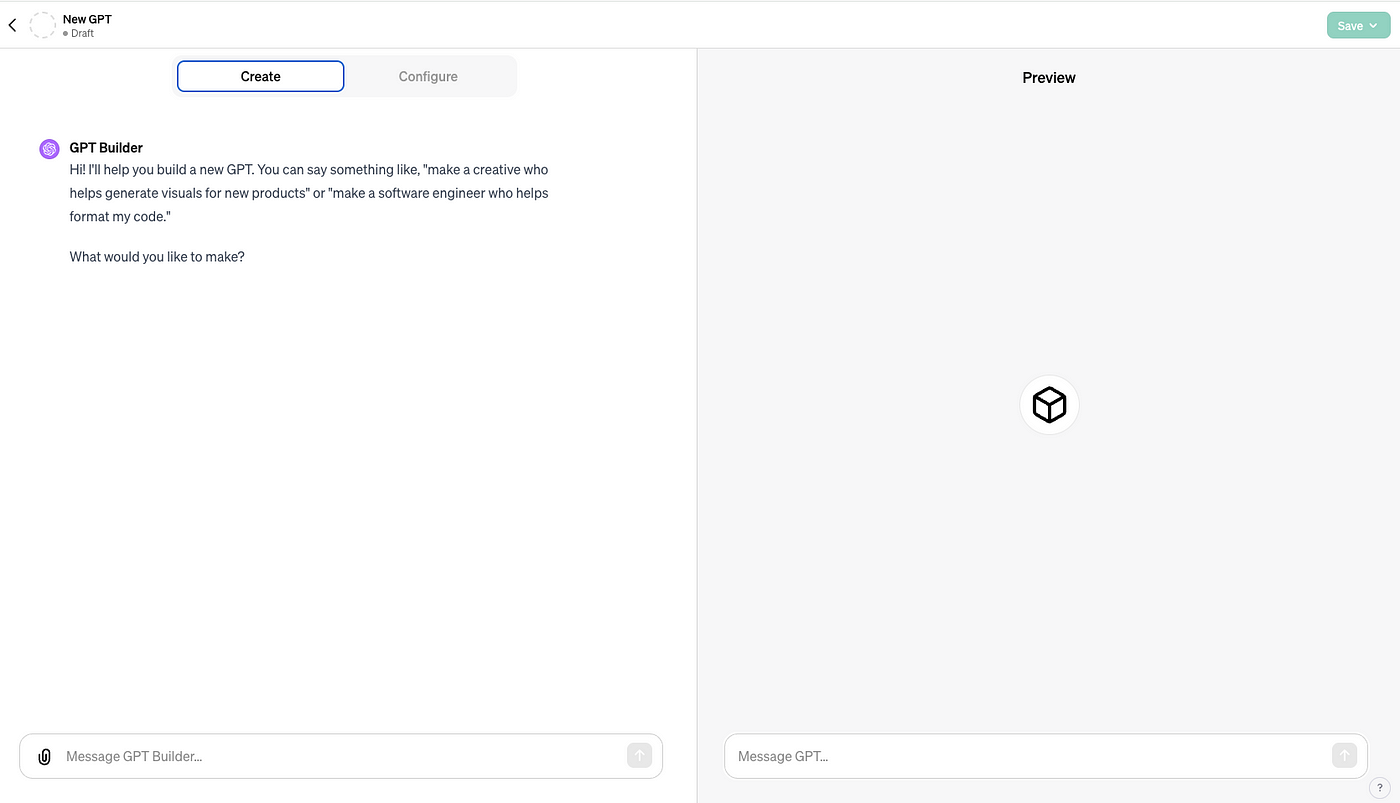
Before we get started, I’d like to show you where you can create a similar application. I created the customized ChatGPT through a function within ChatGPT that allows you to do so and guides you through the process. You can find this function within ChatGPT under “Explore” and then “Create a GPT”.
Take a look below to see what the interface where you’ll work on developing customized ChatGPTs looks like.
Generate Style
At the beginning of the process, you’ll just describe the storyline briefly, and be prompted by the application to describe the artistic style of your baseline image.
The Storyboard Wizard can help you generate some examples of the styles it’ll suggest to you. Alternatively, you can rely on websites such as Dallelist to learn how to prompt the algorithm for the right style, look and feel.
The more familiar you are with artistic styles, the better you’ll be at generating visually interesting storyboards.
Generate Images
Once you land on the desired style (it can take a few iterations) you’ll get the image ID as well as a written description of it. You’ll be asked if you would like to generate more images, and you can start doing so by referencing the baseline image ID for the sake of consistency.
This way, you can generate as many images as you need. Bear in mind, that it could take you a few iterations until you land on the desired vision for each vignette and it’s perfectly normal.
Bring them all to one canvas
At this point, you can download your images, and bring them all to your favorite design tool. It can be Photoshop, Affinity Designer, Canva, you name it. Voilà! Your storyboard is ready to use.
In the next part, let’s look at an example of a storyboard I created using the tool.
Using the Storyboard Wizard to generate a storyboard
Our first step is understanding the storyline and generating the baseline image. I chose an interesting situation of intermodal traveling ( using more than one transportation mode in one journey) between two cities, one leg by train and the second, by airplane.
I was inspired by the new reality that became especially common among European airlines in the past few years of terminating flight routes and replacing them with train routes. Take a look at this example by Austrian Airlines and see how it works. Interesting customer journey (literally). Isn’t it?
Generating a few images to get ourselves into the shoes of a passenger could help us to start thinking of adequate solutions and ideas for such unique journeys that have their own challenges.
Traveling by several modes of transportation could create ambiguity for certain types of passengers who might not know what to expect in each part of the journey and how they interconnect. This is the type of user we’ll focus on.
For the sake of this exercise, I tried to think of a journey taken from a small university town in Italy by train to Milan, and then by airplane to Copenhagen, Denmark. The main character is a young female student who’s making her way back to Denmark for her winter school break.
Generating the baseline image
I wrote a very general description of the image I wanted with just enough detail to guide ChatGPT to bring my vision to life.
“The first scene includes a young girl with a backpack and a rolling suitcase. She’s European-looking, wearing jeans, boots, and a leather jacket. She’s by the entrance to the train station looking for her way in and the right way to go.”
After a couple of iterations, I landed on this image.
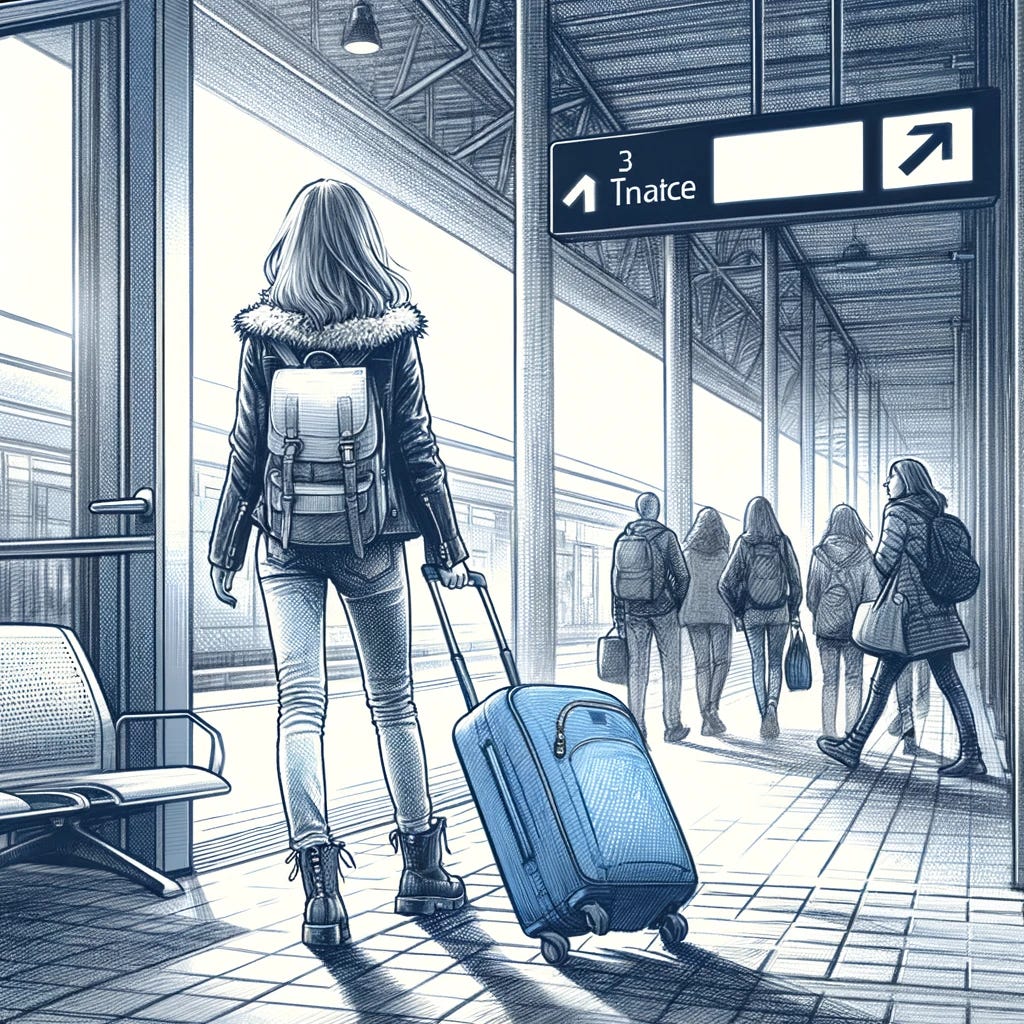
As you can see, the sign pointing to the trains’ platforms is a bit weird, so I had to manually modify it slightly using Affinity Designer, but overall, it’s a good image to start with.
Generating the rest of the vignettes
Now that we have a baseline image and an image ID, it’s easy to start thinking about the order of the vignettes and what happens in the next scenes.
I tried to incorporate essential elements of traveling such as checking in, sitting on board the train and the airplane, and picking up luggage upon arrival to the final destination.
After generating the vignettes, I brought them all to the same canvas using Affinity Designer.
Here is the outcome.
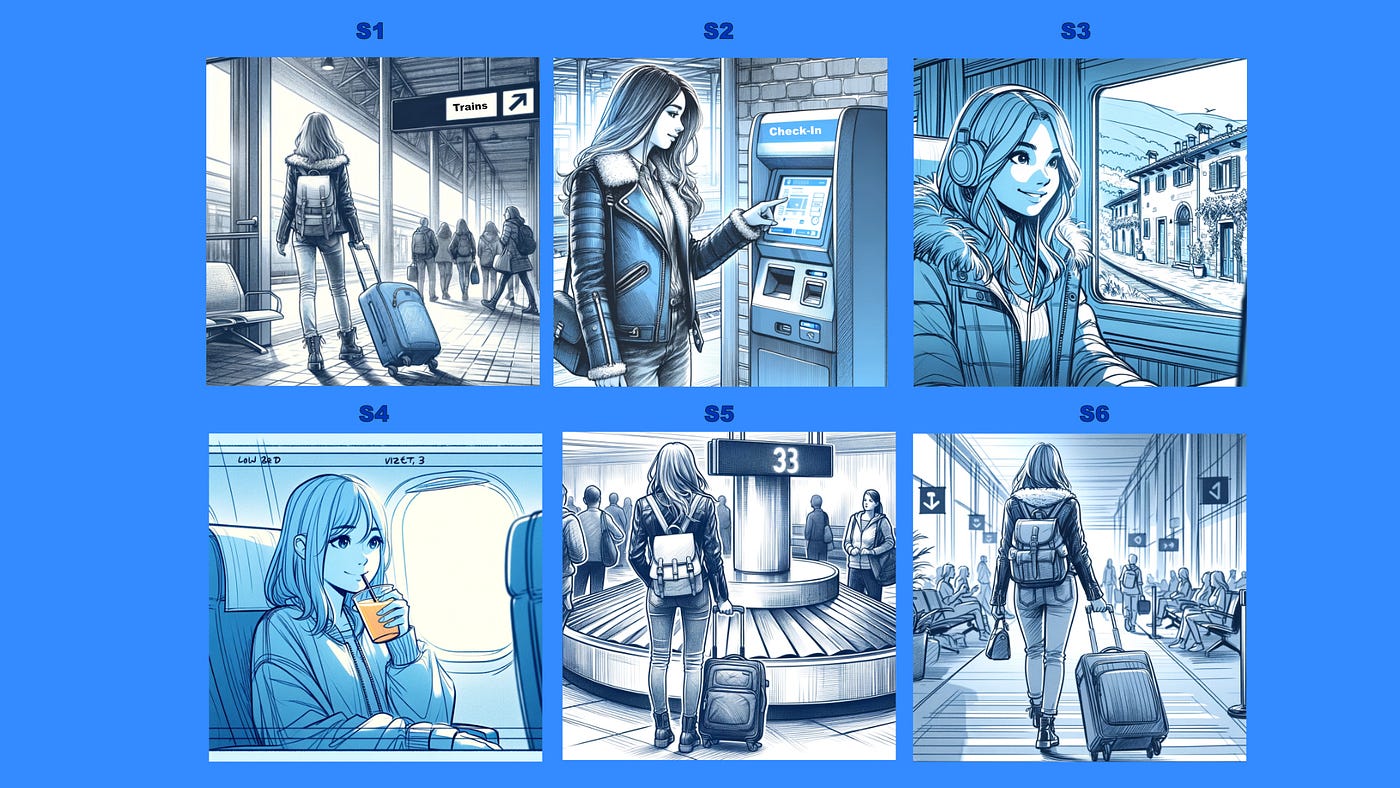
As you can see, the consistency between the images’ styles is kept at around 80%-90% and there are some minor mismatches (e.g. different styles of backpacks, etc. ). I think these details shouldn’t matter much if what you care about is the big picture and having a starting point for ideation with your team.
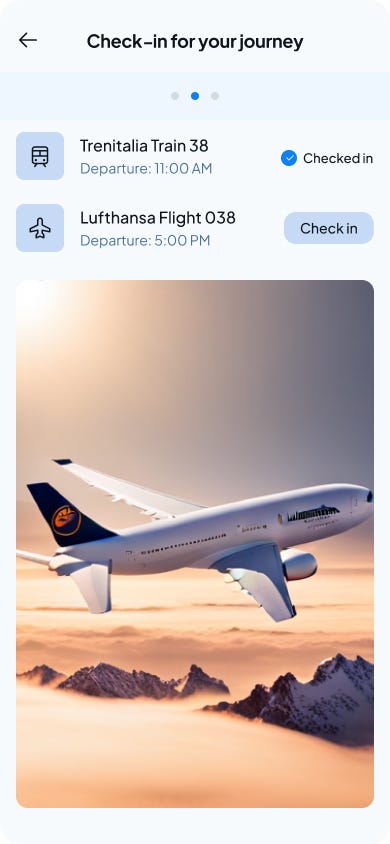
Incorporating wireframes in your storyboards
Current generative AI solutions for image generation are not so good at depicting very detailed designs as part of an image. Therefore, my suggestion is to use specialized tools if you need a quick and easy solution.
Galileo AI is a good generative AI tool to use for the design of UIs and wireframes. It gives good and basic results that you can export to Figma, and then you can edit it further if need be.
I used this tool to create a very basic wireframe for a UI that enables passengers to check in and get updates about all the legs of their trip. I had to manually change a few elements of it to make it look more realistic. Take a look.
Conclusion — Start experimenting with AI and create your storyboards
My short experiment creating a storyboard showed me that it’s soon going to be easier than ever to incorporate storyboards in ideation sessions, even without the knowledge of sketching or graphic design.
All you need is a good imagination and good articulation skills, and you can bring a whole new capability to your team.
In the future, I’m sure we’ll see a better image generation capability.
On a final note, I’d like to say that the generative AI revolution is still in its infancy. A few specialized solutions for storyboarding have already popped up on the market (e.g. Storyboarder.ai , Storyboardhero.ai, etc.) and you can explore them.
I feel that it’s good to start with a non-specialized tool such as ChatGPT to learn how to incorporate generative AI within your workflow, and if you need to go beyond the occasional storyboard and need a more robust solution, you can explore the evolving niche of specialized tools.
This article was originally published on Medium.